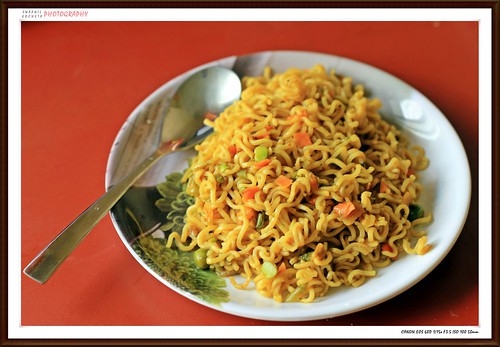
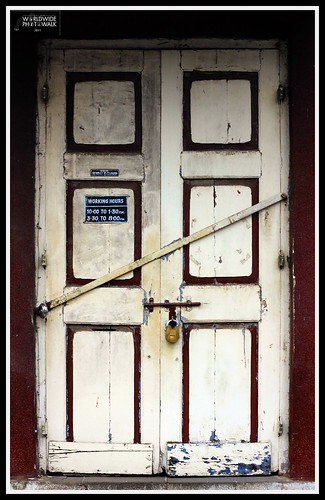
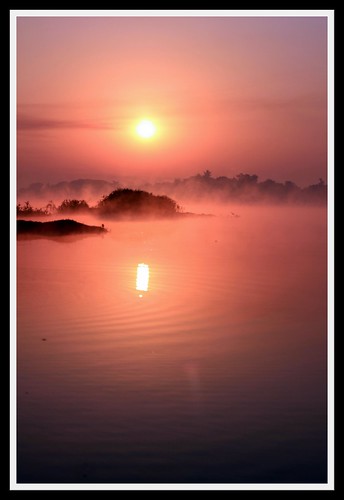
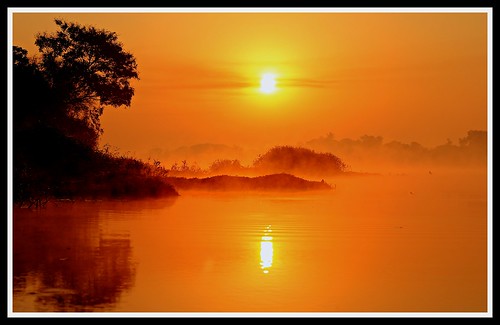
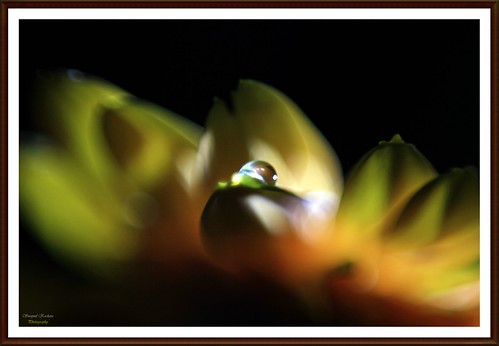
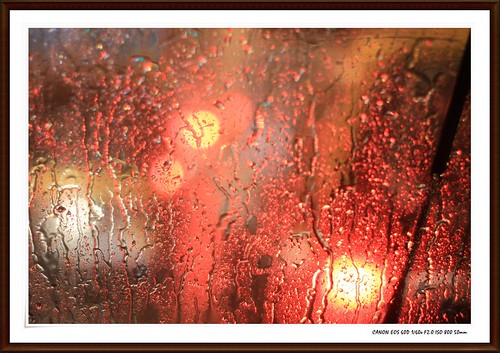
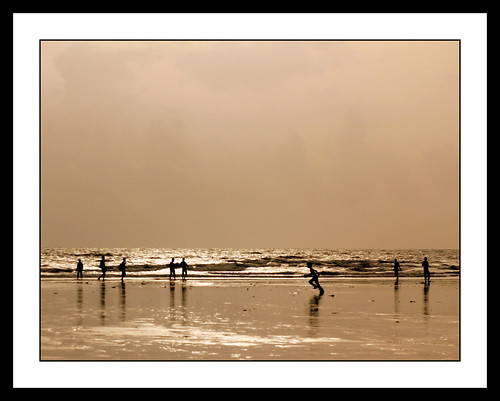
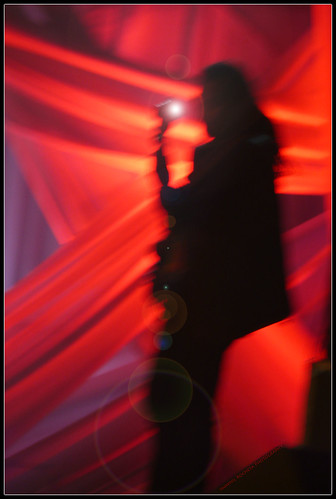
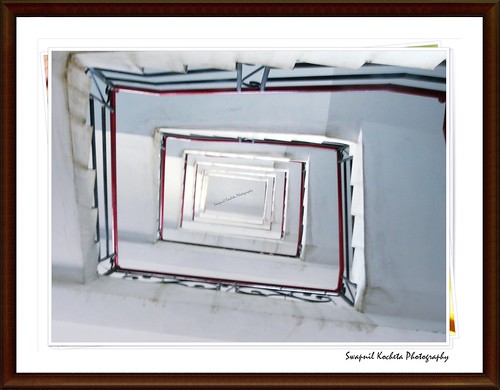
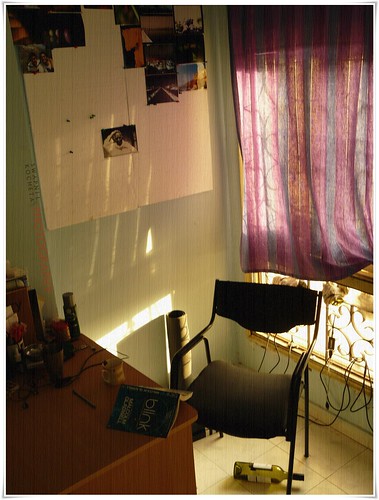
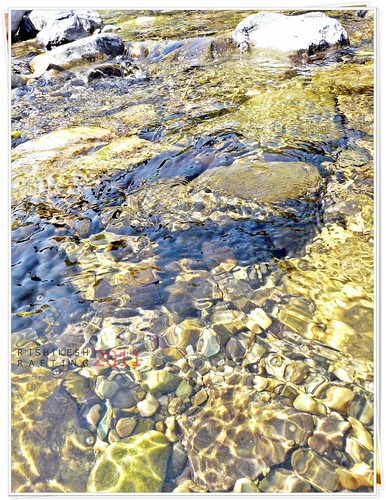
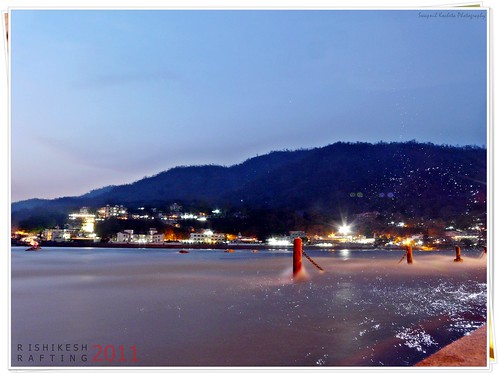
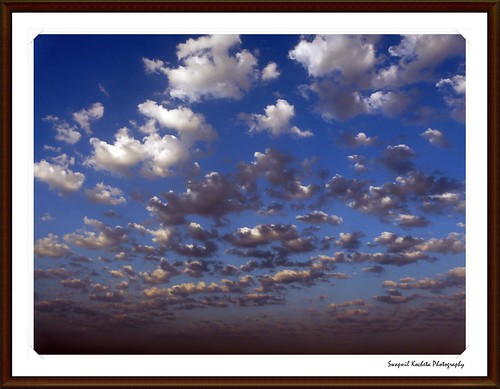
How to make a frame/border:
Tip 1: Using Canvas Resize
- Click Ctrl + Alt + C to open Canvas re-size tool
- Depending on your image size and color, choose a color and size (in pixel or as percentage). Here we have chosen Black color and a 40 Px (relative) to give the first Black Border for image.
- Next step would be to create the Mount (the outer White/creme border sheet effect), Again use the Canvas Re-Size tool, and this time take a decent relative size (I have taken a size of 600 Px for this particular frame for original picture size of 3456 X 5184) and select the color which you'd want for the mount. Here we have selected White, we could have alternated this for a darker picture , with first border being white , with a Black Mount.
- Final step Would be to create the Outer Frame (we have skipped the middle thin Border, which will be taken up in next Tip). , Again use Canvas Re-Size tool and select a relative size for border (here we have used a 200 Px Border).
Wollah ! We have a decent Frame Ready. You may want to play with various color combinations , and Sizes.
Tip 2 : More Control , More Jazz
This tip can be used as standalone or in combination with the previous tip.
- Enlarge the Canvas to a decent relative size (say 20%) with Appropriate background (here White).
- Choose the Rectangular Marquee tool and draw a rectangle outside the Photograph but within the Canvas. Be cautious to have equal spacing on either sides, you might want to use grids or guides for precision.
- With current selection , make new layer either via ctrl+shift+N or by layer > new layer.
- Select paint tool (G) and fill the new layer with desired frame color/pattern/gradient.
- Now Contract the Layer by going to Select > modify > contract
- Choose the size which you'd want the border to reflect , Say 40 Px
- press delete or ctrl + X to delete the selection. This step will basically remove the contracted part, leaving the frame size selected above (40 Px).
- You have a standalone layer which can Act as a frame , you have ample creative freedom to play with the blending options , add shadow, pattern, glow, bevel etc. and You have the option to move the frame to any location you feel appropriate.
Tip 3: Fastest approach , least useful.
- Go to Picture layer, right click for Blending options,
- Add Stroke
That's all now play with the size , inner , outer, soft settings and will give you quite some options.
Share it if you liked the article, Comment if you'd want me to elaborate on steps, and Suggest if you have a better workflow which we could take up.

